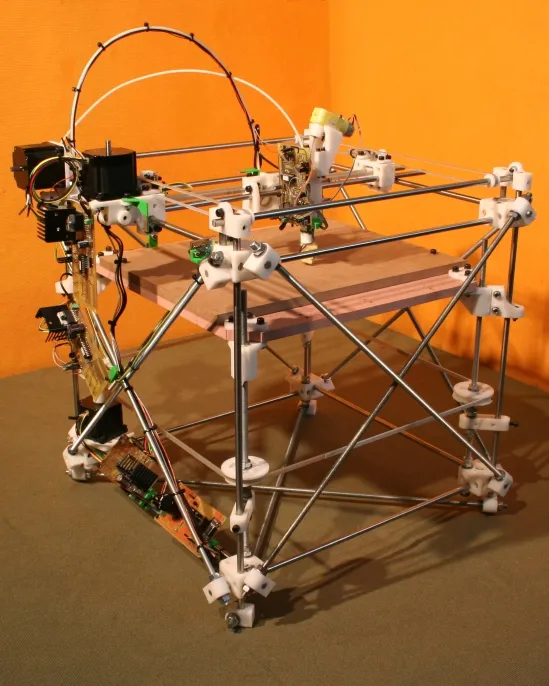
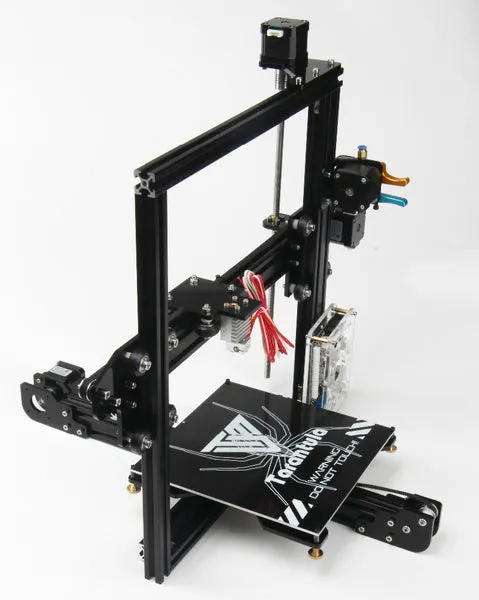
RepRap Tarantula Build Top 5 Tips
The RepRap Tarantula is a popular and affordable 3D printer, perfect for beginners and hobbyists. Building and operating one can be a rewarding experience, but it also comes with its own set of challenges. This guide provides the top 5 tips to help you maximize your RepRap Tarantula’s performance and ensure successful prints. Following these tips, you can improve your print quality, reduce common issues, and get the most out of your 3D printing experience. Whether you’re new to 3D printing or looking to refine your skills, these insights will prove invaluable for your RepRap Tarantula journey. Let’s dive in to elevate your 3D printing experience!
Tip 1 Leveling the Bed
Bed leveling is the single most critical step in achieving high-quality 3D prints with your RepRap Tarantula. An unleveled bed will result in poor adhesion, warping, and failed prints. It ensures that the first layer adheres correctly, which is the foundation for the entire print. Spend time to level your bed correctly and you will see improved print quality immediately. Also, consider doing it before every print to make sure it goes smoothly. By prioritizing this step, you set the stage for successful and satisfying 3D printing outcomes. This is one of the most important things that you need to do to get started.
Why Bed Leveling Is Crucial

Correct bed leveling ensures that the nozzle is at the correct distance from the bed across the entire print surface. If the bed is too close, the nozzle will scrape the bed, potentially damaging it or the nozzle. If the bed is too far, the filament will not adhere properly, leading to warped prints or complete print failure. Proper bed leveling is not only the foundation for successful prints, but it also saves time, filament, and frustration. This will make you enjoy the whole process and avoid common mistakes. Always make sure that the distance between the nozzle and the bed is correct.
Leveling Methods
The RepRap Tarantula typically uses a manual bed leveling system, which involves adjusting the bed’s height using screws located at each corner. Here are some common methods. The paper test involves sliding a piece of paper between the nozzle and the bed, adjusting the bed height until the paper offers slight resistance. Another method is to use a feeler gauge for more precise leveling. Some users opt for auto-bed leveling (ABL) sensors, which automate the leveling process. Regardless of the method, ensure consistency across the entire bed surface for optimal results. Proper bed leveling is a fundamental skill in 3D printing, leading to greater success and satisfaction in your projects.
Tip 2 Adjusting Print Settings
Fine-tuning your print settings is essential for achieving high-quality prints with your RepRap Tarantula. While default settings may work for basic prints, optimizing these settings will enhance print accuracy, detail, and overall performance. This involves adjusting various parameters such as temperature, speed, retraction, and cooling. Experimenting with these settings allows you to tailor your printer’s behavior to the specific filament and print requirements, resulting in prints that meet or exceed your expectations. Learning to tweak these settings will make you a better user, and you will enjoy the process more.
Understanding Key Settings
Several settings significantly impact print quality. Layer height determines the vertical resolution; smaller layer heights result in smoother surfaces but longer print times. Print speed affects the time it takes to complete a print, with slower speeds generally yielding better results. Temperature is critical for melting the filament correctly, and it varies depending on the filament type. Retraction settings control the movement of the filament when the nozzle moves between different parts of the print. Adjusting these settings requires understanding how each parameter affects the final outcome, and patience to find the right balance. Each filament has different settings, so always make sure you use the right settings.
Optimizing Temperature and Speed
Temperature and print speed are two of the most important settings to optimize. The optimal temperature depends on the filament type. For example, PLA typically prints between 190-220°C, while ABS requires higher temperatures. Print speed affects the time it takes to complete a print. Slower speeds generally result in better quality, especially for intricate designs. To optimize, start with the manufacturer’s recommended settings and adjust incrementally, monitoring the print quality. Increase the temperature in small increments if the filament isn’t melting properly or decreasing it to avoid stringing or other issues. Also consider the speed and always make sure that you are using the correct settings.
Tip 3 Filament Selection
Choosing the right filament is crucial for the success of your RepRap Tarantula prints. Different filaments offer various properties, such as strength, flexibility, and temperature resistance. PLA (Polylactic Acid) is a popular choice for beginners due to its ease of use and low odor. ABS (Acrylonitrile Butadiene Styrene) provides greater strength and temperature resistance, but it requires a heated bed and ventilation. PETG (Polyethylene Terephthalate Glycol) offers a balance of properties, making it a versatile option. Choosing the right material will help you make the best possible prints and avoid issues.
Choosing the Right Filament

When selecting a filament, consider the project’s requirements. For prototypes and decorative items, PLA is often sufficient. For functional parts that need to withstand heat or stress, ABS or PETG may be more suitable. Each filament has its advantages and disadvantages, and your choice should be guided by these factors. Research the filament’s properties, including printing temperature, bed temperature, and any special requirements. Also, think about the color, since each filament comes with different colors. Selecting the right filament will significantly enhance the quality of your prints and the overall printing experience. Different filaments also have different printing processes.
Filament Storage Best Practices
Filament can absorb moisture from the air, leading to print quality issues such as stringing, bubbling, and poor layer adhesion. Proper storage is crucial to maintain the filament’s quality. Store filament in a cool, dry place, away from direct sunlight. Use airtight containers or resealable bags to protect the filament from moisture. Consider using desiccant packs, such as silica gel, to further absorb moisture. Some users also use filament dryers to remove moisture from the filament before printing. Proper storage ensures your filament remains in optimal condition, leading to more consistent and higher-quality prints, and makes your printing life easier.
Tip 4 Extruder Calibration
Calibrating your extruder ensures that the correct amount of filament is fed through the nozzle, which is essential for accurate and consistent prints. An under-extruded print will have gaps and weak layers, while an over-extruded print will have excess material and may cause blobs or defects. Accurate extrusion is critical for achieving dimensional accuracy and overall print quality. Calibration typically involves adjusting the E-steps setting, which controls how much filament the extruder motor pushes through the nozzle for a given command. This process will help you avoid many printing issues and improve your prints.
Calibrating E-Steps

E-steps, or steps per millimeter, is a setting that tells the printer how many steps the extruder motor should take to feed 1mm of filament. To calibrate, you’ll typically measure and mark a specific length of filament (e.g., 100mm) above the extruder. Then, command the printer to extrude that same length, and measure the actual amount extruded. Calculate the difference and adjust the E-steps setting in your printer’s firmware or slicer software. This process ensures that the printer is feeding the correct amount of filament, resulting in more precise and higher-quality prints. Repeat the process if needed until you have a good calibration.
Addressing Extrusion Issues
Extrusion issues can manifest as under-extrusion, over-extrusion, or inconsistent flow. Under-extrusion can be caused by a low E-steps setting, a clogged nozzle, or insufficient hotend temperature. Over-extrusion can result from a high E-steps setting or incorrect slicer settings. Inconsistent flow may be due to a worn nozzle, a loose extruder gear, or inconsistent filament diameter. Troubleshooting these issues often involves checking and adjusting the E-steps setting, cleaning or replacing the nozzle, checking for clogs, and ensuring the filament is properly loaded. By addressing these problems, you can improve your prints.
Tip 5 Firmware Updates and Tuning
Keeping your RepRap Tarantula’s firmware up-to-date and fine-tuning the settings can significantly enhance performance. Firmware updates often include bug fixes, performance improvements, and new features. Fine-tuning involves adjusting parameters like acceleration, jerk, and PID (Proportional-Integral-Derivative) control to optimize the printer’s behavior. Regular updates and tuning can help maintain your printer’s reliability, improve print quality, and expand its capabilities. Always make sure that your printer is up to date and tuned correctly. There is always room for improvement.
Updating Firmware

Updating the firmware is usually done by connecting the printer to your computer via USB and using a firmware flashing tool. Download the latest firmware version from the manufacturer or a trusted source. Make sure you get the correct firmware. Follow the instructions provided with the firmware update. Firmware updates may add new features or resolve existing issues. Before updating, back up your current settings in case you need to revert to the previous version. Keeping your firmware updated ensures your printer benefits from the latest improvements, enhancing both its functionality and reliability. However, make sure you know what you are doing.
Fine-Tuning for Optimal Performance
Fine-tuning your printer involves adjusting various parameters to optimize performance. Acceleration and jerk settings control the printer’s movements, with lower values generally resulting in smoother prints but slower print speeds. PID tuning involves calibrating the hotend temperature control to maintain a stable temperature. Adjusting these settings requires patience and experimentation. Start with small adjustments and monitor the impact on print quality. Consult online resources and the RepRap Tarantula community for guidance and recommended settings. Fine-tuning can significantly improve print quality and overall performance. There is always room for improvement. Also, you should also consider other factors.
Conclusion
By implementing these top 5 tips, you can significantly enhance your RepRap Tarantula’s performance and achieve better 3D prints. From bed leveling and adjusting print settings to selecting the right filament and calibrating your extruder, each tip contributes to overall print quality and reliability. Don’t forget to keep your firmware updated and to fine-tune settings for optimal performance. 3D printing with the RepRap Tarantula can be an enjoyable and rewarding hobby, and mastering these techniques will set you on the path to success. Practice, patience, and a willingness to experiment are key to achieving outstanding results. Embrace the journey and enjoy the world of 3D printing. Happy printing!